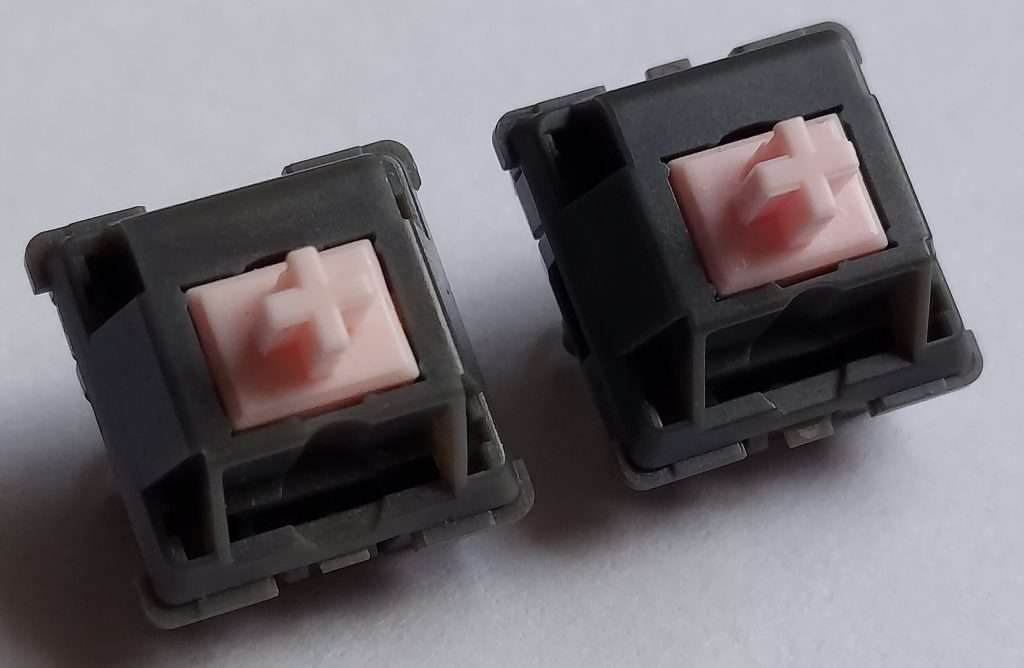
typically involves modifying various aspects of the switch to suit your preferences. Linear switches, which are commonly used in mechanical keyboards, lack tactile bumps or audible clicks, providing a smooth and consistent keystroke. Here are some ways you can customize linear switches:
- Switch Lubing:
- Purpose: Lubing reduces friction between moving parts, resulting in a smoother keystroke and potentially reducing key wobble.
- How to do it: Disassemble the switch, apply a thin layer of lubricant to the moving parts, and reassemble the switch. Popular lubes include Krytox and Tribosys.
- Spring Swapping:
- Purpose: Adjust the actuation force and bottom-out force of the switch.
- How to do it: Replace the original spring with a lighter or heavier one, depending on your preference. Different springs are available with varying weights.
- Keycap Selection:
- Purpose: The keycap material and profile can affect the typing experience.
- How to do it: Experiment with different keycap profiles (e.g., SA, DSA, Cherry) and materials (ABS, PBT) to find what feels best for you.
- Switch Housing Modifications:
- Purpose: Alter the housing to reduce friction or improve the switch’s feel.
- How to do it: Some enthusiasts sand or smooth the switch housing surfaces to reduce friction. Be cautious not to remove too much material.
- Stem Modifications:
- Purpose: Customize the feel of the switch by altering the stem.
- How to do it: Sanding or modifying the stem can change the actuation point or provide a different feel. This requires precision to avoid damaging the switch.
- Switch Films:
- Purpose: Improve consistency and reduce wobble by adding thin films between the switch parts.
- How to do it: Place switch films on the top and bottom housing components before reassembling the switch.
- Switch Stickers or Dampeners:
- Purpose: Reduce noise or dampen the bottom-out feel.
- How to do it: Apply switch stickers or dampeners to the inside of the switch housing or on the keycap stems.
- Switch Springs:
- Purpose: Experiment with different springs to adjust the actuation force.
- How to do it: Replace the stock spring with a lighter or heavier one. Springs are available in various weights and materials.
- Switch-Top Opening:
- Purpose: Open the switch from the top without desoldering to make modifications.
- How to do it: Some switches have a feature that allows you to open them without desoldering, making it easier to access and modify the internals.
- Soldering and Desoldering:
- Purpose: Make advanced modifications or replace components.
- How to do it: Desolder the switch from the keyboard PCB, make the desired modifications, and then solder it back in place.
Always exercise caution when customizing switches, especially if it involves opening up your keyboard or desoldering switches. Customizations can void warranties and may require technical expertise. Additionally, be aware that some modifications may not be reversible, so proceed with caution and consider the potential impact on your keyboard’s functionality.

You


